Activating Windows Defender and system protection
Activating Windows Defender and System Protection in Windows 11
Windows
Defender, now known as Microsoft Defender, is an integrated security
feature in Windows 11 that provides real-time protection against malware,
viruses, and other threats. In addition, System Protection allows you to
create restore points to help recover your system in case of issues. Here’s a
detailed guide on how to activate both features.
Step 1: Open Windows Security
- Access the Start Menu:
- Click on the Start
button (Windows logo) in the taskbar.
- Open Windows Security:
- Type Windows Security
in the search bar and select the corresponding result from the list.

- Navigate to Virus &
Threat Protection:
- In the Windows Security
window, click on Virus & threat protection on the left
sidebar.
- Check Protection Status:
- If Microsoft Defender is
not already activated, you will see a notification indicating that the
app is turned off.
- Click on the Manage
settings link under the Virus & threat protection settings
section.

- Turn on Real-Time
Protection:
- Toggle the switch under Real-time
protection to On. This activates Microsoft Defender’s
real-time scanning features.


- Enable Cloud-Delivered
Protection:
- While still in the Virus
& threat protection settings, scroll down and ensure that Cloud-delivered
protection is also turned on. This feature provides additional
security by leveraging cloud intelligence.
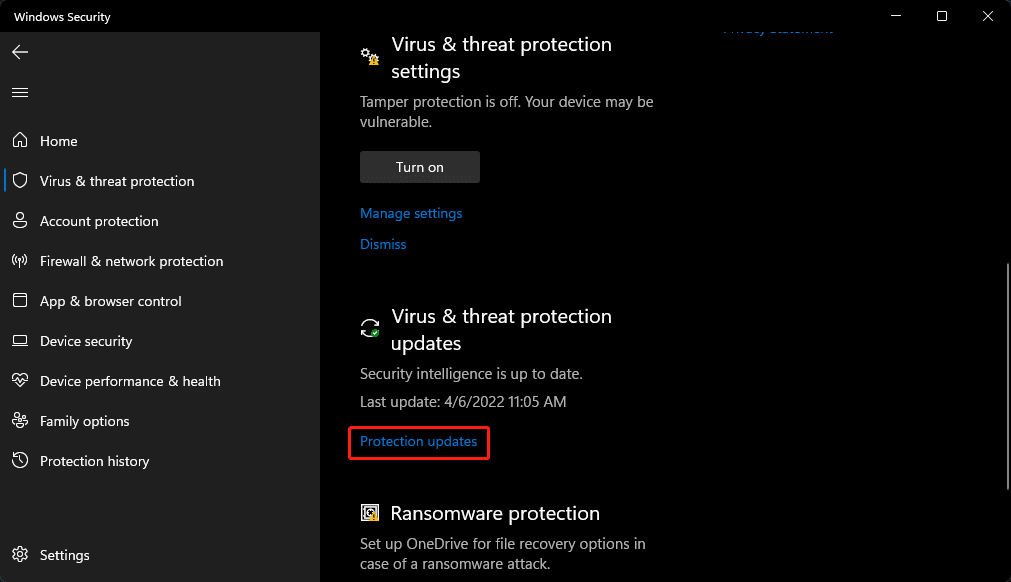
- Check for Updates:
- Click on the Check for
updates link to ensure Microsoft Defender is up to date with the
latest definitions and security features.
Activating System Protection
System
Protection allows you to create restore points that can be used to revert your
system to a previous state in case of problems.
Step 1: Open System Properties

- Access Settings:
- Right-click the Start
button and select System from the context menu.
- In the System window, click
on About in the left sidebar.
- Open System Protection:
- Scroll down and click on
the Advanced system settings link on the right side. This opens
the System Properties window.
- Go to the System
Protection tab.
Step 2: Configure System Protection
- Select the System Drive:
- In the System Properties
window, you’ll see a list of available drives. Select the system drive
(usually C:).
- Configure Protection
Settings:
- Click on the Configure
button.
- In the System Protection
dialog, you will see two options:
- Disable
system protection: This option will turn off protection for
the selected drive.
- Restore
system settings and previous versions of files:
This option allows you to enable protection.
- Select the option to Restore
system settings and previous versions of files.
- Adjust Disk Space Usage:
- You can adjust the maximum
disk space used for system protection by moving the slider. This
determines how much space is allocated for restore points.
- Click OK to apply
your changes.
Step 3: Create a Restore Point
- Create a Restore Point:
- While still in the System
Protection tab, click on the Create button.
- Enter a description for the
restore point (e.g., "Before installing new software") and
click Create again.
- A message will appear when
the restore point is successfully created.

Conclusion
Activating
Microsoft Defender and System Protection in Windows 11 is essential for
maintaining your system’s security and ensuring that you can recover from
potential issues. By following these steps, you can enable real-time protection
against threats and create restore points to safeguard your system. Regularly
check for updates and create restore points, especially before making
significant changes to your system, to ensure a smooth and secure experience in
Windows 11.
