Screen recording and live streaming
Screen Recording and Live Streaming in Windows 11
Windows
11 offers built-in features that make it easier than ever to record your screen
and stream live content. These tools are particularly useful for gamers,
content creators, educators, and anyone looking to share their screen
activities. This section covers how to use these features effectively.

1. Screen Recording with Xbox Game Bar
What is Xbox Game Bar?
Xbox Game
Bar is a built-in overlay in Windows 11 designed primarily for gamers but
useful for anyone needing screen recording capabilities. It allows you to
capture gameplay, take screenshots, and record application windows seamlessly.

How to Record Your Screen:
- Open Xbox Game Bar:
- Press Windows Key + G
to launch the Game Bar.
- Start Recording:
- In the Game Bar overlay,
click on the Capture widget (if it’s not visible, click on the Widgets
Menu icon and select Capture).
- Click on the Record
button (the circle icon) or press Windows Key + Alt + R to start
recording your screen.
- Stop Recording:
- To stop recording, either
click the Stop button in the Game Bar or press Windows Key +
Alt + R again.
- Access Your Recordings:
- Recorded videos are saved
in the Videos folder under Captures.
Features of Xbox Game Bar:
- Audio Control: Adjust audio levels for
different applications while recording.
- Screenshots: Capture still images of
your screen using the camera icon or by pressing Windows Key + Alt +
Print Screen.
- Performance Metrics: Monitor your PC's
performance while recording.

2. Live Streaming with Xbox Game Bar
How to Stream Live:
- Open Xbox Game Bar:
- Press Windows Key + G
to open the Game Bar.
- Link Your Streaming Account:
- Click on the Settings
icon in the Game Bar.
- Under the Accounts
tab, you can link your streaming accounts (such as Twitch, YouTube, or
Facebook).
- Start Streaming:
- Click on the Broadcast
widget (available from the Widgets Menu).
- Select the platform you
want to stream to and adjust settings such as audio sources and video
quality.
- Click the Start
Streaming button to go live.
- Manage Your Stream:
- Use the Game Bar to manage
your stream while broadcasting. You can monitor chat, adjust audio, and
control your video source.
3. Third-Party Screen Recording and Streaming Software
While
Xbox Game Bar is great for quick recordings and streams, some users may require
more advanced features. Here are a few popular third-party applications:
OBS Studio:
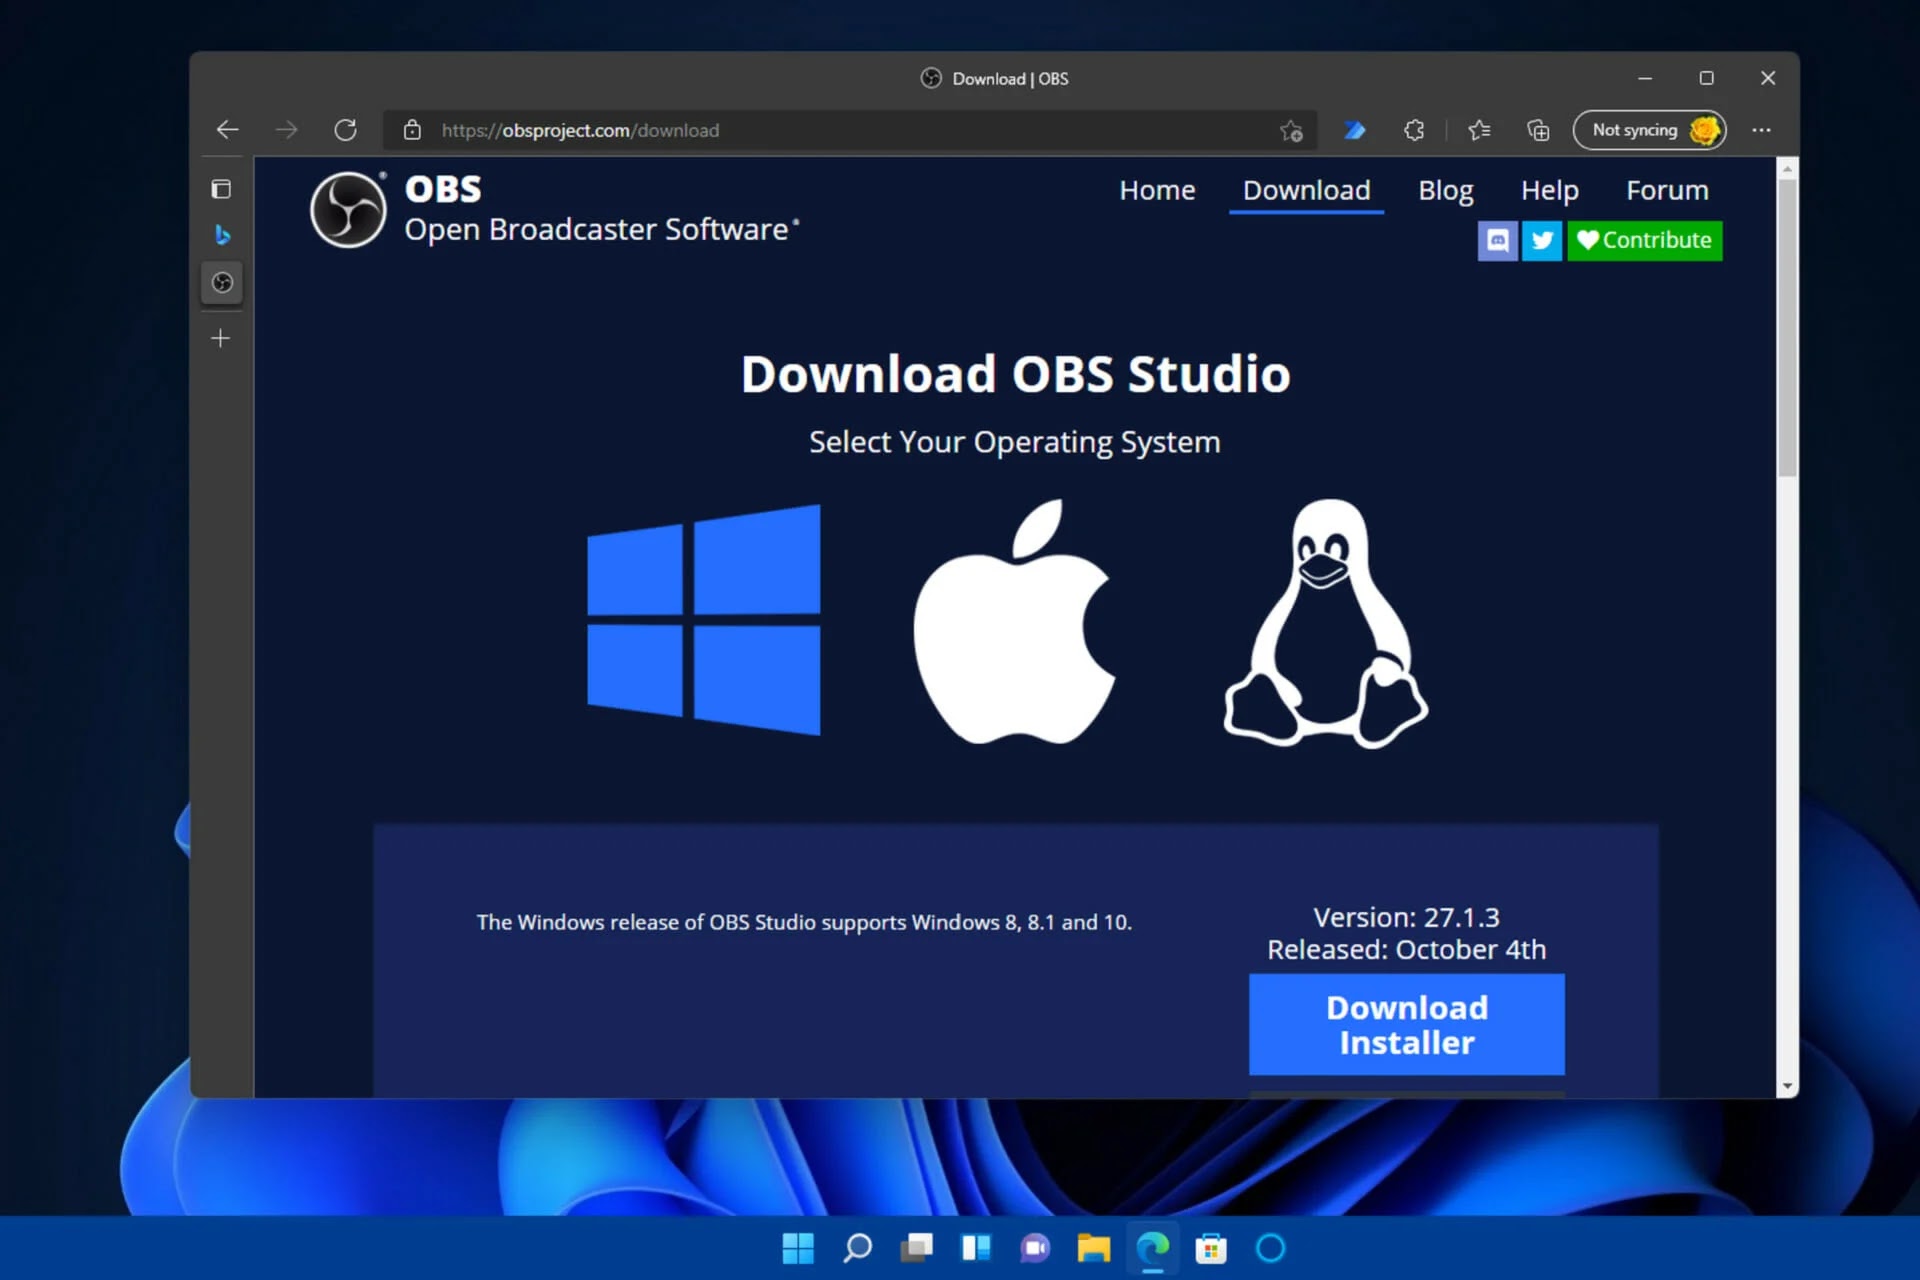
- Features: Open-source software that
allows for high-quality screen recording and live streaming. Supports
multiple sources, overlays, and advanced configuration options.
- Usage: Ideal for gamers and
content creators looking for extensive customization.
Streamlabs:

- Features: Built on OBS, Streamlabs
adds user-friendly features, integrated alerts, and tools for managing
live streams.
- Usage: Popular among Twitch and
YouTube streamers for its ease of use and built-in widgets.
Camtasia:

- Features: A powerful screen recording
and video editing software. Ideal for creating educational content and
professional presentations.
- Usage: Suitable for users who need
advanced editing capabilities post-recording.
4. Tips for Effective Screen Recording and Streaming
- Check Audio Settings: Ensure your microphone and
system audio levels are balanced before starting your recording or stream.
- Optimize Performance: Close unnecessary
applications to ensure smooth recording or streaming, especially for
resource-intensive tasks like gaming.
- Test Your Setup: Conduct a test recording or
stream to check video quality, audio levels, and overall performance.
- Engage Your Audience: If streaming, interact with
viewers through chat and respond to comments to create a more engaging
experience.
Conclusion
Screen
recording and live streaming in Windows 11 have been made simple and accessible
through the Xbox Game Bar, allowing users to capture their screen activities
with ease. Whether you’re recording gameplay, creating tutorials, or streaming
live events, the built-in features and third-party applications provide robust
options to suit your needs. By following the steps outlined above, you can
effectively utilize these tools to enhance your content creation experience.
